I've been meaning to post this for a long time. But things have been unusually crazy around here lately. I'm the new cookie mom for the troop of 22 girls. I was never in Girl Scouts as a girl, and this is her first year too, so I wasn't completely sure what I was getting in to. Its fun, but its a LOT of work. Besides that, Miah has had a few appointments this past week; annual check up and a MRI. Which we wont know the results of for a few days.
BUT on with the leg post. I wanted to show everyone how every day starts for me. First let me break down the components for you. The part that goes between me and the device is called a sleeve/liner. I wear an Alps EasyGel Liner. The part my leg goes into is the socket. And the socket is connected to the "leg".

I also had to have a special piece made for my leg that goes inside the sleeve. That's called the end cap. The first thing I do every morning is to wash the sleeve and the end cap very well with softsoap. Heres what my very old end cap looks like, and yes, I need a new one!
I have the end cap for 2 reasons. The first reason is because I was getting what is called negative pressure. This is where the socket creates a milking (like on a cow) sensation on the end of my leg. That pulls all the blood down to the end and can also cause other problems, like me not being able to use the leg like I should, etc. The second reason is that I had a nodule at the end of my limb that was created by to much negative pressure. So now, we are trying to "push" that back in.
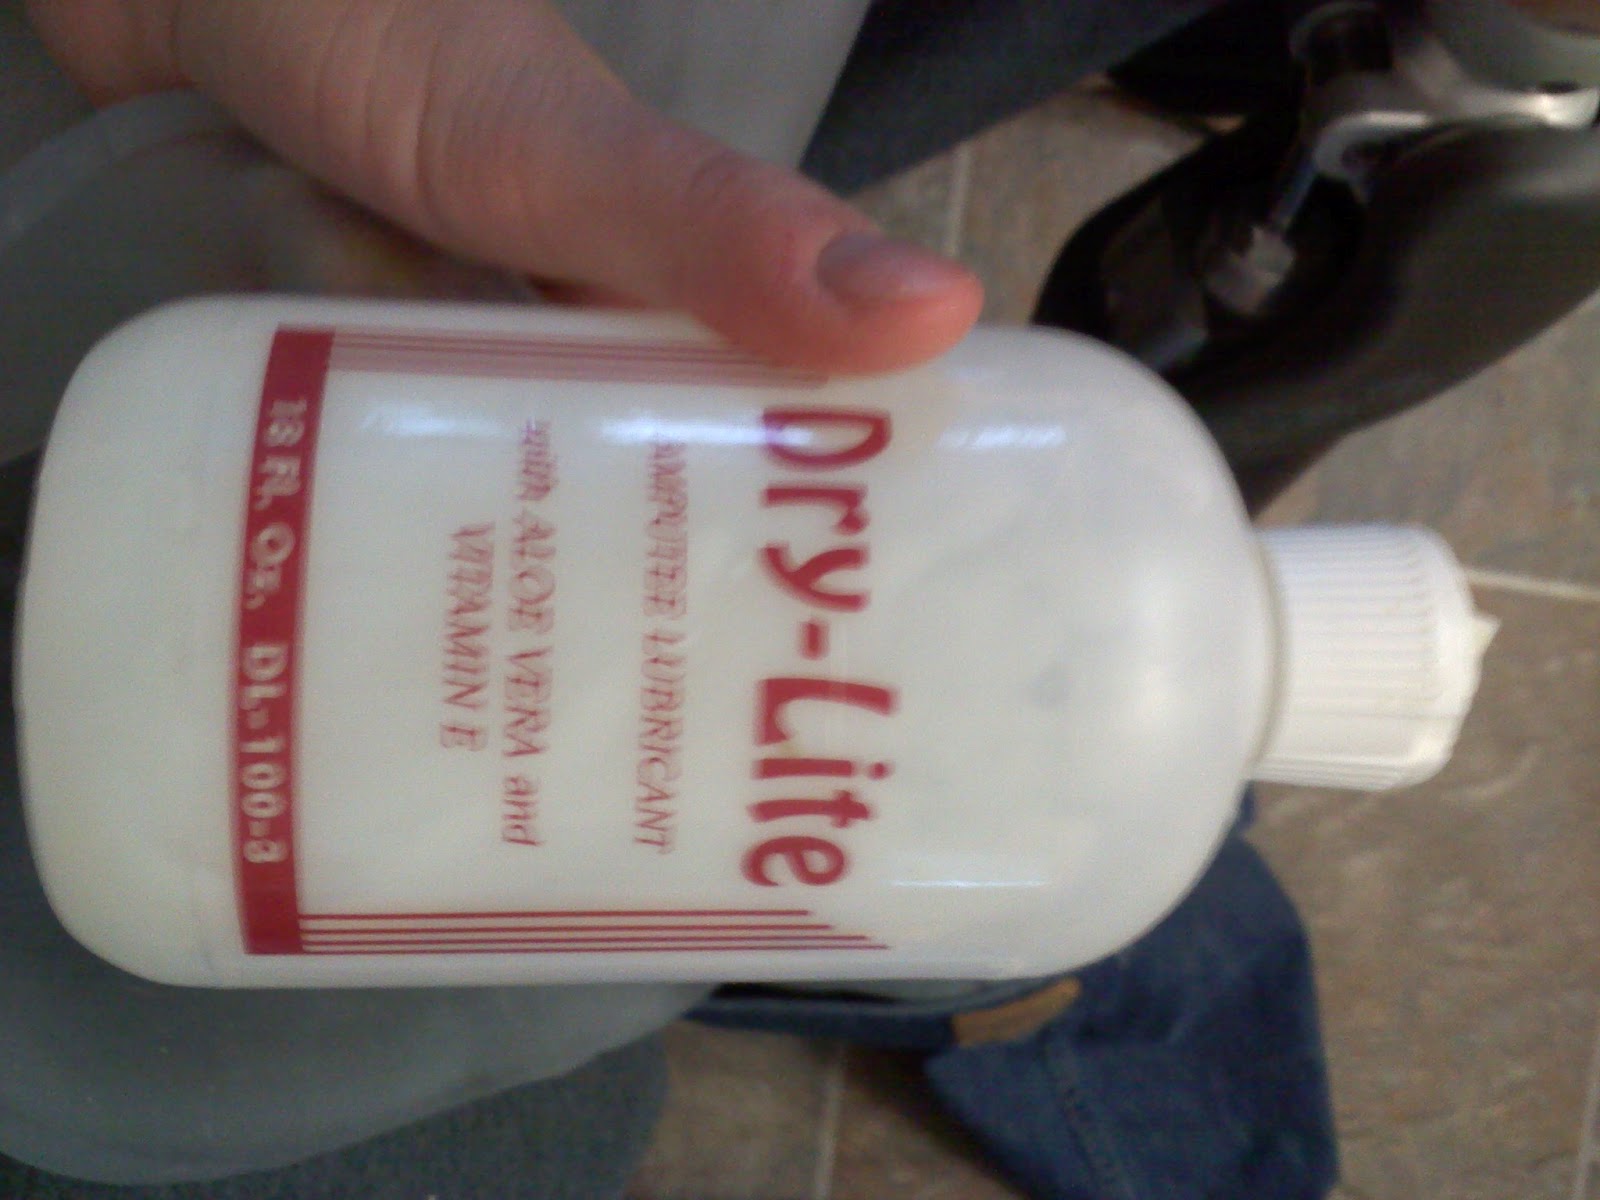
You can see the dark area on the side of my leg. Thats from the negative pressure. You can also see the redish nodule. Its MUCH smaller than it was before. Ok, so after I wash and dry it really well, its time to start donning (putting it on). I use a potato based natural lotion to roll the sleeve on.
I squeeze some inside the sleeve, roll it around really well and then hold the end cap on my leg while I roll the sleeve up.
 |
| Holding the end cap on - see how it "rounds"out my leg - it gives it a better fit in the socket. |
 |
| getting read to roll the gel liner/sleeve on...its quite the process (at first) |
 |
| rolling it up... |
 |
| sleeve is rolled all the way up, ready to go into the socket. |
My socket is a suction socket. It uses suction instead of straps or pins to keep the leg on my body. I use a newer design and the white ring inside is called a bladder. Although I have no idea why.
 |
| The "bladder" and the hole at the bottom is for the valve to go in |
 |
| This is the part that goes next to my groin. The padded part on the right side is the back. That's where my leg/body takes the weight. It uses a bone in the butt they call the sit bone. |
 |
| The other side of my socket |
There are many different combinations of sockets. I've tried a few, and this is the one I like the best due to the way it fits on my bodyand feels. It's not the most aesthetically pleasing since it pushes my one butt cheek way up. But after trying the alternative socket (it takes the pressure on a cross bone in your groin practically) I am fine with a funny looking back side.
This is all the way in the socket. (Viewing from the front) I feel the hole in the bottom to make sure that I have gotten all the way into it. If I'm not all the way down in the socket, the leg will not work right, and I will have more problems on my limb. I leave my sleeve long and skip trimming it short. Multiple reasons, but mainly because it allows me to compensate for the sleeve "shrinking" down the road and it also provides a little extra cushion on the sit bone.
Everyone wants to know how the leg works. And it is freaking awesome. I have an Otto Bock C-Leg with 2 modes. At the time, this was the newest version they made. Of course, a few months after I got mine, they came out with a new version that has 3 modes and does some other things. The modes allow me to change the settings of the knee as it is a computerized knee. (So I could have my regular walking mode and a seperate mode for riding bike) It is extremely fascinating and I encourage everyone to
read on it briefly. Ottobock has also come out with a successor to the C-Leg, its called the genium. I will have that leg some day. It is beyond phenomenal. I can not wait for bionic limbs, and this is a really close product in my opinion.
Back to my leg... I have a few other things to help me. I have an ankle rotator. It allows me to sort of pivot slightly while putting weight through my leg. And I have a knee rotator. This is the big button on the inside of the leg just above the knee. By pushing it, it allows the leg to go into free swing, meaning I can move the leg 360 degrees at the knee. So I can turn the leg backwards at the knee and really freak people out! I can't walk that way obviously though so it's real purpose is to aid in dressing and getting in and out of the vehicle (I drive with my left foot on the regular pedals, so I use the rotator to get my prosthesis out of the way)
 |
| You can see the rotator just below the flesh part. The red ports on the knee are to connect the blue tooth piece to change the setting for my gait and the other is to plug in the charger. |
 |
| moving the leg using the rotator so I can change and tie my shoes. You can also see the valve the I put in the socket's hole. |
Everyone wants to see the foot. It looks like a foot, but nothing like my foot. No, I can't paint the toe nails, but I am going to try attaching acrylics to see if they hold up so I can paint them. I have 2 little girls - toe painting is a must!
I chose not to have a cover made this time. I have had one in the past, but it got really dirty really easy and even though they did an awesome job with it, it didn't match my sound leg, so I just opted to go with out. Plus it feels good to show off my C-leg! Not everyone who needs one gets one, so I feel proud.
 |
| Both my Legs with the prosthesis on. |
 |
| Bad picture, but you can see - both legs in jeans, look pretty good to me! But feels even better! |
I get tons of questions about the leg and the whole process and I don't mind one bit. Obviously it was more pain than I could have imagined enduring. And it took extreme physical strength to learn to walk again and power the leg (it weighs 10 pounds) with a 10" limb, but as hard as all that was, it's more mentally and emotionally toughness. I deal with the loss of my leg every day, multiple times. When I want to run and jump and dance and play with my girls without having to think about the leg. And maybe some day that will be so. But not today. Today I have to remember to step with the right foot and to pay attention to how much weight I have over the top of the leg so the knee doesn't go. There's a lot to be aware of and a lot to learn. But of course I am thankful God gave me the chance to experience it. And to be able to share this with all of you!