Monday, April 9, 2012

Some Summer planning with the kiddos!

 We stopped at Saver's tonight to pick up some sheets to use for our growing flower beds.  I've never really had to worry about it before, but since so much is up, I figured I'd better.  Monday's are 25% off at my Savers, but even with that, I still think I'll hit up Goodwill and Garage sales for more. 

No matter how you look at it, Summer is quickly approaching.  With my oldest just turning 7 and no longer purely entertained by being Mommy's helper or running errands, we've decided to do something really fun! She is compiling (with my help) a list of all things we'd like to do this summer.  Small things from plant extra flowers to big things like try new day trips.  Of course I have to monitor, because "running down to Disney World for a quick trip" just isn't quite in the budget this year!  And we want to be realistic! :)

She is really into science lately which is really fun.  She wants to do the messy and fun things, like the classic volcano everyone has seen and/or made.  I was not a science kid myself so I do not know of a lot of other big fun science projects.  I've searched like mad and finally come across a site I love and took a lot of ideas from. Science Bob is a great place to go for things science related for the younger kids.  Its more than just projects, although that's all I read, but check out his site - really great stuff!


Our list also includes other fun ideas we haven't heard much about before.  Like a Life Book.  Similar to a scrapbook, except less pictures and she is in charge.  She can read very well and writes quite clearly also.  So this book is totally compiled by her.  I will give her guided pages and provide her information, like about her birth and trips she's taken so far in her life.  Then she can add her own pages, like collages of things she likes, maybe brief journal entries, pictures she's drawn, etc.  I would like to come up with a standard page that I have her fill out every summer.  Like "Summer of 20XX" and then have her answer 10 questions every summer.  Hopefully by the time she graduates it'll be something really amazing.  I'll take pictures along the way so if you are interested you can play too.

Bed Time starts in 10 minutes! So off I go!

Thursday, April 5, 2012

It's not all potato chips and bonbons

To be honest with you, I am not even really sure what bonbons are.  Sure I know they are something you eat, and I'm assuming its something really great. But I've never had one.  I'm ok with that because I have cool ranch Dorittos, a cold mt. dew and a brand new bag of Cadbury mini Eggs - my most favorite holiday candy of all holiday candy.   They are amazing!  So, my waistline has enough temptations without bonbons. :)

I'm slowly recovering.  Slowly.  Its more frustrating then I first thought. I am home.  But I still have the chest tube in.  They attached this goofy looking contraption that is beyond annoying, and even scary at times.  I wont gross you out with the ins and outs of it.  Its quite sore and varies through out the day.  Hence my frustration.  I want to get back to things.  I have 5 scrapbooks waiting for completion on my desk.  I have an order for 100 birthday board coins.  I have 3 new scents just dying to be made into soaps and candles and I can't remember the last time I scrapped in my own books (thank you fire for burning all my photos) not to mention its my favorite time of year and those weeds are begging to be pulled!

If you've read my Caringbridge site, you know our house is in foreclosure.  While I was in the hospital they set a sale date of May 2nd.  I can't help but have a heavy heart.  I feel much fear and panic and anger.  I don't know what else to do to keep my home and I've prayed and prayed and I just don't know what to do! I wish there was an easy answer or even a crystal ball so I could at least know if I can stay in my home or not. But I don't. And so I keep praying.  And I keep waiting patiently for my latest setback to heal.  I guess these really are the days of our lives. ;) ha!

Tuesday, March 20, 2012

So this is what a nervous breakdown feels like!

Hopefully you've read my caringridge post and you are in the know in my upcoming surgery. 

When it rains it pours.  We know this well.  And usually have our umbrella handy.  But it rains so much, from time to time the umbrella gets weak.  That's this week here.

The cookie sales are ending their season and so the normal chaos of that is occuring.  The icing on the cake is that my darling Emma bean has lost her money envelop and order form.  I have no idea how much still needed to be paid, who still needs cookie, or any of the other info I NEED to have.  I've turned the house upside down and then back again.  We cleaned out the tahoe completely.  I've gone through 5 bags of garbage.  I've gone through every paper in my file cabinet and desk.  I've looked under all furniture and emptied all bags. We even made a trip to school at 5 oclock to clean out her desk.  I've prayed to the Lord and St. Anthony.  I even have other people praying. Maybe if I was just a "normal" mom in a normal life, I wouldn't be freaking out as bad.  But that's not the case.  And I start to have a mini panic attack whenever I start thinking about the stupid envelope.

I am not making the headway on the must-do-before-surgery list I thought I would.

I have to get the taxes done.  But not sure why we haven't received on of our forms yet.  Maybe we did...I honestly don't know at the moment.

The kids are having anticpated anxiety, but still hard to deal with in the midst of all the other chaos.

I'm having some leg issues, which leads me to believe God might have a very sick sense of humor. Just kidding...I dont ever think of things that way.  I just try to remind myself that all of this stuff happens for a reason.

I will try to post as I am able.  But at this point, not really sure how that will go! If it's medical related, it will be on my Caringbridge site.  So check there also! Thanks and love to all!

Monday, March 5, 2012

My latest Prosthetic victory!

Yikes! Already March 5th! I just realized tonight that I posted less than a handful of times in February.  Now that's a little sad.  I guess I focus on my other blog so much and creating the image I want for my some day actual business, that I forget about this one.  And I've honestly been so busy with Girl Scout Cookie Sales, I have little time left for a personal blog. But I've wanted to share something exciting for awhile.  So I made some time! :)

If you are a prosthetic wearer, or you know one, you know that every day is a victory in and of itself.  I did a post awhile back about my leg.    I talked about wanting toe nails that we could paint.  I went to Walmart and bought some regular acrylic toe nails. 


I did it like you would do any other acrylic nail.  I held up the closest size to the "real" nail.  I shaped, filed and sanded those nails like mad! It was a challenge for sure.  The toes are laid almost side ways on the prosthetic foot.  The more I look at it, the weirder I think it looks.  But its better than nothing. 

Yes, this picture probably looks familiar.  I was so excited to put the nails on, I forgot to take a true before picture! :) But, here is the foot I have before I put the nails on it.  It gets really scuffed and dirty (even in my sock and shoe) so I just wash up the foot shell with a Mr. Clean Magic Eraser and then wipe it down with a Clorox wipe just because that's who I am.


Ta-Da! One foot shell with realish looking toe nails. Hell, lets be honest, these look better than most real toenails! And of course these can be painted.  And with the right remover they can be repainted. 

Some tips I have for anyone else wanting to do this would be: make sure you clip and sand in small increments.  I had to completely reshape the last 3 nails.  The foot shell nail was nothing like the acrylic shape.  So just do this in small steps. I also cut it much shorter.  I made sure there was no way to catch the acrylic on a sock or something and rip the nail off.  Also, the instructions say to only use a few drops of the glue.  I gobbed it on.  I used the included stick to clean off any extra as soon as I pressed the nail down.  I tried to hold them down with my finger and took extra care to try not to let them bend - even slightly.  Because any slight opposite bend created these whitish lines. And if you used the stick to press them down you will get these same white lines.  They are hard to see to the naked eye and you can not really tell looking down when I have the leg one, but of course I know they are there, and so I can really tell :)

I hope this helps someone (if they haven't already done this!) and I will try to remember to update how they do against wear and polish and the like! Here's hoping for some sandal weather soon!

Tuesday, February 28, 2012

Growth Charts

I love my babies! Who doesn't! Anyone who has babies, knows that they don't last long! I loved the idea of a growth chart.  I originally wanted to do it on the frames of their doors.  But I realized that may not keep forever since we could move or redo the house or yup, a fire.  (Ours would not have ruined the growth charts if I did do them on the trim by their doors, but that's a mute point now)

Of course, it had to be inexpensive. And they are no beauties after seeing some of the other ideas online (more of that later) but it doesn't matter, because they are ours.  So I bought an inexpensive chart from current catalog.  They are listed for 19.99 right now, but I used online coupons and waited for a sale.  I want to say I got them around $6, maybe $10.  I'm sure you can find cheaper ones till but 7 years ago, there wasn't much to pick from.


When I got them, they are just computer printed cardstock.  Which is fine, I didn't have the time to get creative on the computer.  However, the sheet does not start at 0" and go to 60".  I decided to put them on boards to give them stability and hopefully increase their life.  Also, we wanted the child to be able to stand up next to it and accurately give their height, so my husband used scrap wood to make up the difference.  (Did that make sense?) Maybe this will help..


Now the board is accurate.  When the child stands next to it with their feet on the floor, we can mark their actual measurements. 

Of course, I had to make it even better and meaningful.  So now that the girls are old enough to write their names, they write their name next to the line.  I add the date and their age.  This way not only do we watch them grow, we can also see how their handwriting changed over the years.  :)


 Even though there are tons of better ones out there ( just check this pinterest search or you can buy some on etsy - just now, over 2,000 listed on etsy! Wowza!) I know mine will be just as great as any of the others.  It's not about how cute it looks before, its about how amazing it is as you go!


Thursday, February 16, 2012

Typed Misunderstandings

I just feel the need to vent a little.  I was going through my daily massive overload of emails.  And I came across one with a subject that read: "your messy house is sickening! (Literally)" I did not open it.  I realize it came from a health company and I'm sure they were merely trying to promote some sort of "healthy" purifier something. 

Even still, as a corporate company, I expect them to monitor their words better.  Technology is a huge plus for my generation.  In fact, I don't know what I'd do without it! I almost never use a phone to talk anymore.  And I rely on the interent as my main point of contact with everyone - even my parents.

But what am I often reminded of is that typed words do not carry enough or correct emotion at times.  Everything can easily be taken out of context and misunderstood.  Unfortunately, it is not easy to recover from another person misunderstanding your email or text.  And sometimes by the time it's realized, it's probably to late to repair the damage anyway.

That being said,  I would still rather spend an hour on the computer typing my messages out to everyone I need to correspond with than 2 or 3 hours on the phone trying to get ahold of everyone.  But next time you feel upset by somethind you read, I encourage you to stop, breathe and consider putting yourself in the other person's shoes.  Are they just doing their job? Are they doing the best they can? Or is there something else going on in their lives that you have no idea about?  Everyone has a burden to carry.  I wish this world would remember that on more of a daily basis.  I sure could use the benefit of the doubt.

Saturday, February 11, 2012

My prosthetic leg

I've been meaning to post this for a long time.  But things have been unusually crazy around here lately.  I'm the new cookie mom for the troop of 22 girls.  I was never in Girl Scouts as a girl, and this is her first year too, so I wasn't completely sure what I was getting in to.  Its fun, but its a LOT of work.  Besides that, Miah has had a few appointments this past week; annual check up and a MRI.  Which we wont know the results of for a few days. 

BUT on with the leg post.  I wanted  to show everyone how every day starts for me. First let me break down the components for you.  The part that goes between me and the device is called a sleeve/liner.  I wear an Alps EasyGel Liner.  The part my leg goes into is the socket.  And the socket is connected to the "leg".
 Extreme Locking Gel Liner
I also had to have a special piece made for my leg that goes inside the sleeve.  That's called the end cap.  The first thing I do every morning is to wash the sleeve and the end cap very well with softsoap.  Heres what my very old end cap looks like, and yes, I need a new one!


I have the end cap for 2 reasons.  The first reason is because I was getting what is called negative pressure.  This is where the socket creates a milking (like on a cow) sensation on the end of my leg.  That pulls all the blood down to the end and can also cause other problems, like me not being able to use the leg like I should, etc.  The second reason is that I had a nodule at the end of my limb that was created by to much negative pressure.  So now, we are trying to "push" that back in.


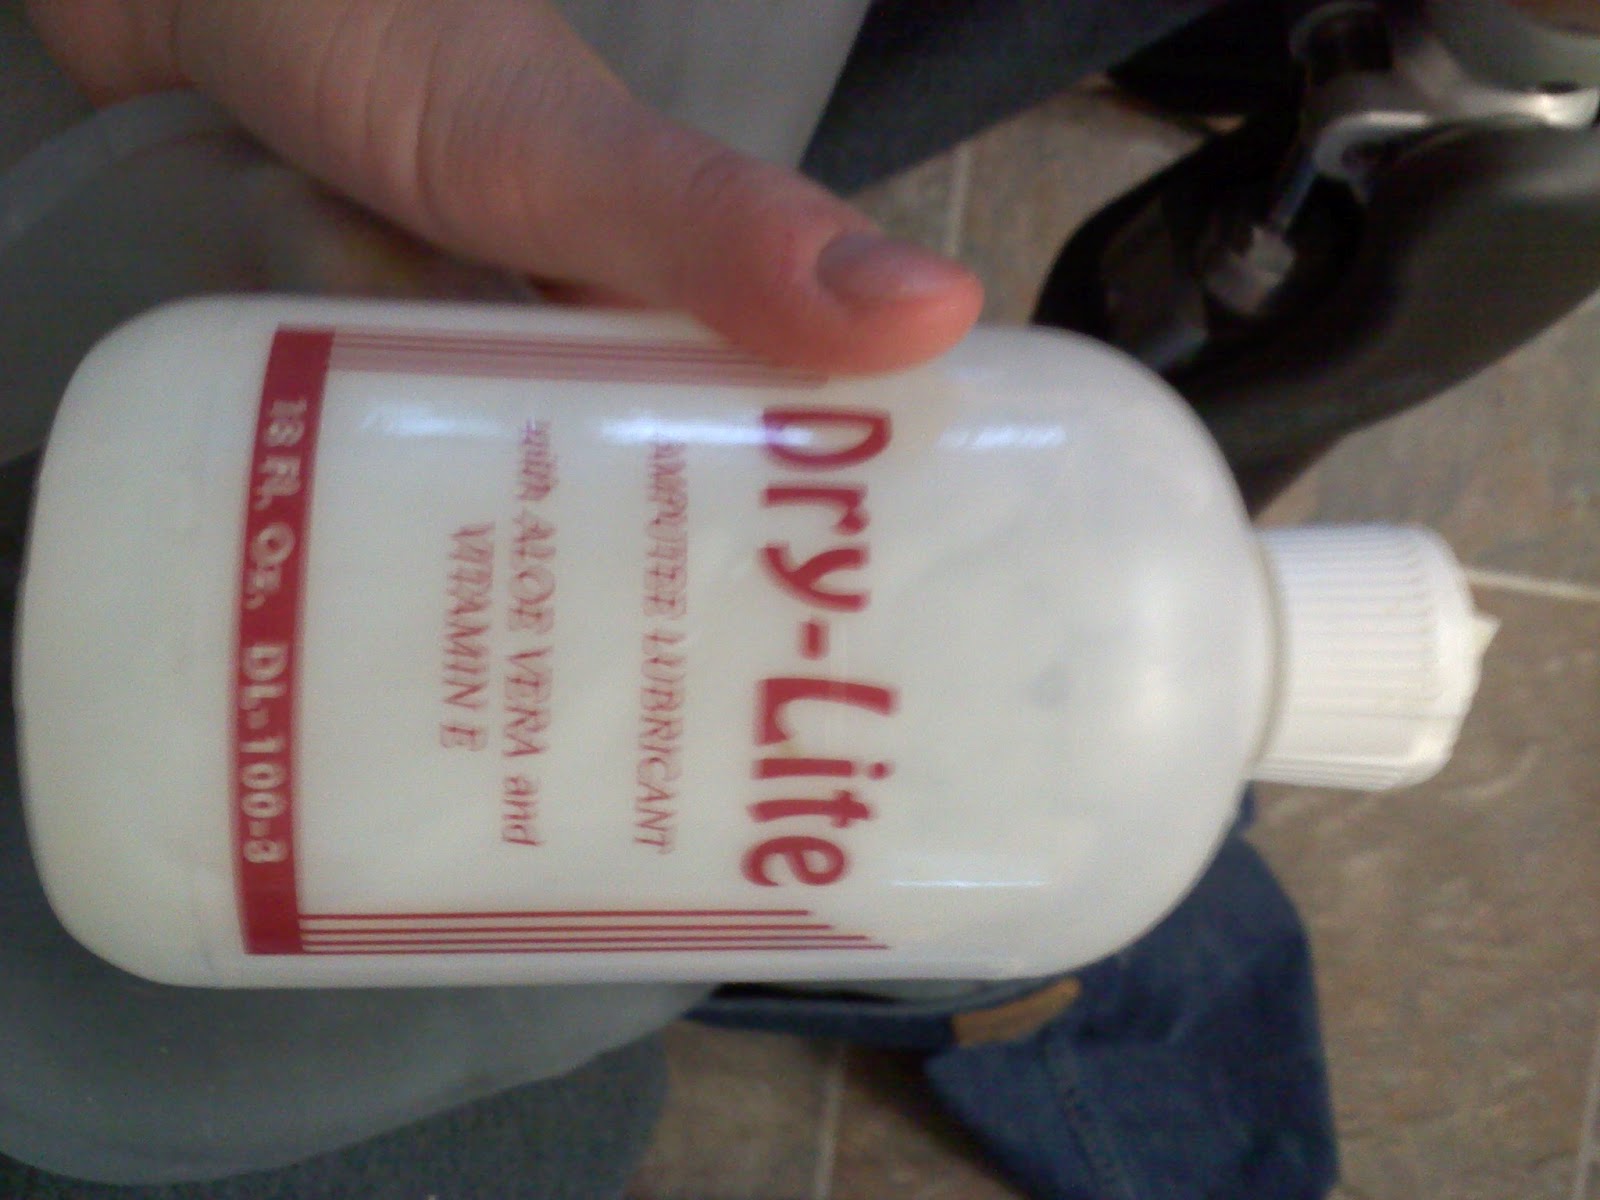
You can see the dark area on the side of my leg.  Thats from the negative pressure.  You can also see the redish nodule.  Its MUCH smaller than it was before.  Ok, so after I wash and dry it really well, its time to start donning (putting it on).  I use a potato based natural lotion to roll the sleeve on.


I squeeze some inside the sleeve, roll it around really well and then hold the end cap on my leg while I roll the sleeve up.

Holding the end cap on - see how it "rounds"out my leg - it gives it a better fit in the socket.
getting read to roll the gel liner/sleeve on...its quite the process (at first)
rolling it up...
sleeve is rolled all the way up, ready to go into the socket.
My socket is a suction socket.  It uses suction instead of straps or pins to keep the leg on my body. I use a newer design and the white ring inside is called a bladder. Although I have no idea why.


The "bladder" and the hole at the bottom is for the valve to go in
This is the part that goes next to my groin.  The padded part on the right side is the back.  That's where my leg/body takes the weight.  It uses a bone in the butt they call the sit bone.

The other side of my socket
There are many different combinations of sockets.  I've tried a few, and this is the one I like the best due to the way it fits on my bodyand feels.  It's not the most aesthetically pleasing since it pushes my one butt cheek way up. But after trying the alternative socket (it takes the pressure on a cross bone in your groin practically) I am fine with a funny looking back side.


This is all the way in the socket. (Viewing from the front)  I feel the hole in the bottom to make sure that I have gotten all the way into it.  If I'm not all the way down in the socket, the leg will not work right, and I will have more problems on my limb. I leave my sleeve long and skip trimming it short.  Multiple reasons, but mainly because it allows me to compensate for the sleeve "shrinking" down the road and it also provides a little extra cushion on the sit bone.

Everyone wants to know how the leg works. And it is freaking awesome.  I have an Otto Bock C-Leg with 2 modes.  At the time, this was the newest version they made.  Of course, a few months after I got mine, they came out with a new version that has 3 modes and does some other things.  The modes allow me to change the settings of the knee as it is a computerized knee. (So I could have my regular walking mode and a seperate mode for riding bike) It is extremely fascinating and I encourage everyone to read on it briefly.  Ottobock has also come out with a successor to the C-Leg, its called the genium.  I will have that leg some day.  It is beyond phenomenal.  I can not wait for bionic limbs, and this is a really close product in my opinion.

Back to my leg... I have a few other things to help me. I have an ankle rotator. It allows me to sort of pivot slightly while putting weight through my leg. And I have a knee rotator.  This is the big button on the inside of the leg just above the knee.  By pushing it, it allows the leg to go into free swing, meaning I can move the leg 360 degrees at the knee.  So I can turn the leg backwards at the knee and really freak people out! I can't walk that way obviously though so it's real purpose is to aid in dressing and getting in and out of the vehicle (I drive with my left foot on the regular pedals, so I use the rotator to get my prosthesis out of the way)

You can see the rotator just below the flesh part.  The red ports on the knee are to connect the blue tooth piece to change the setting for my gait and the other is to plug in the charger.

moving the leg using the rotator so I can change and tie my shoes.  You can also see the valve the I put in the socket's hole.
Everyone wants to see the foot.  It looks like a foot, but nothing like my foot.  No, I can't paint the toe nails, but I am going to try attaching acrylics to see if they hold up so I can paint them. I have 2 little girls - toe painting is a must!

I chose not to have a cover made this time.  I have had one in the past, but it got really dirty really easy and even though they did an awesome job with it, it didn't match my sound leg, so I just opted to go with out.  Plus it feels good to show off my C-leg! Not everyone who needs one gets one, so I feel proud.
Both my Legs with the prosthesis on.
Bad picture, but you can see - both legs in jeans, look pretty good to me! But feels even better!
I get tons of questions about the leg and the whole process and I don't mind one bit.  Obviously it was more pain than I could have imagined enduring.  And it took extreme physical strength to learn to walk again and power the leg (it weighs 10 pounds) with a 10" limb, but as hard as all that was, it's more mentally and emotionally toughness.  I deal with the loss of my leg every day, multiple times.  When I want to run and jump and dance and play with my girls without having to think about the leg.  And maybe some day that will be so.  But not today.  Today I have to remember to step with the right foot and to pay attention to how much weight I have over the top of the leg so the knee doesn't go.  There's a lot to be aware of and a lot to learn.  But of course I am thankful God gave me the chance to experience it.  And to be able to share this with all of you!